In this video I will show you how to install CloudReady Neverware Chrome OS on VirtualBox on your Windows PC step by step.
REQUIREMENTS
How to Install Chrome OS on VirtualBox
STEP 1: Download VirtualBox and Chrome OS installation file from the requirement section.
Then Install VirtualBox by double clicking on it and following the prompt.
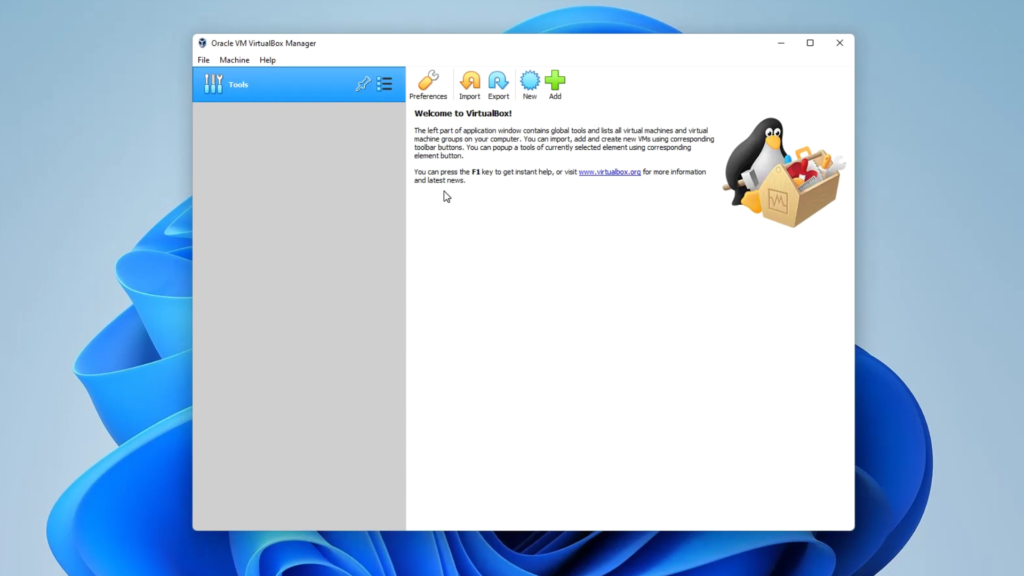
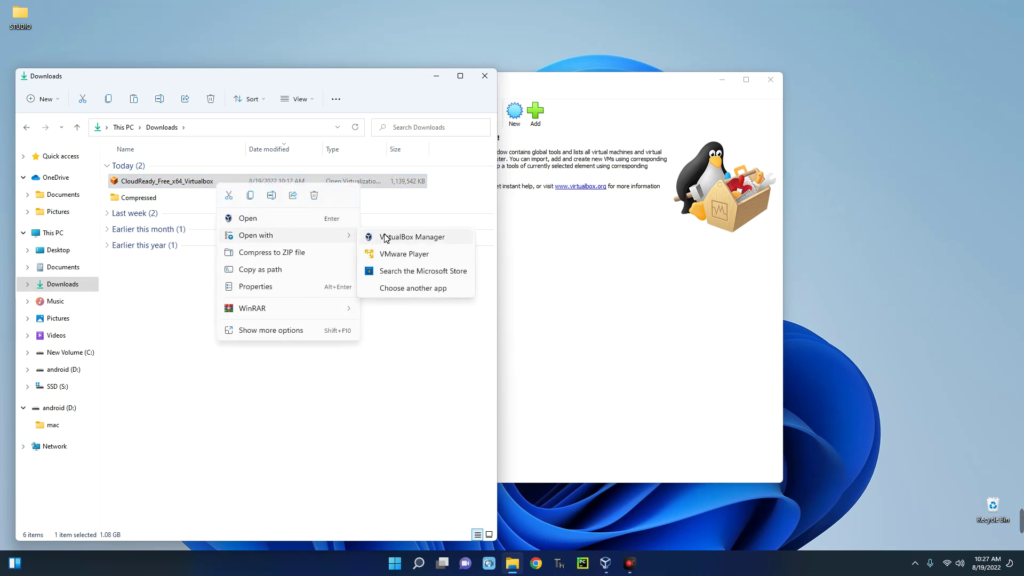
STEP 2: Now right click on Chrome OS Image file we downloaded earlier and open with VirtualBox Manager as shown below.
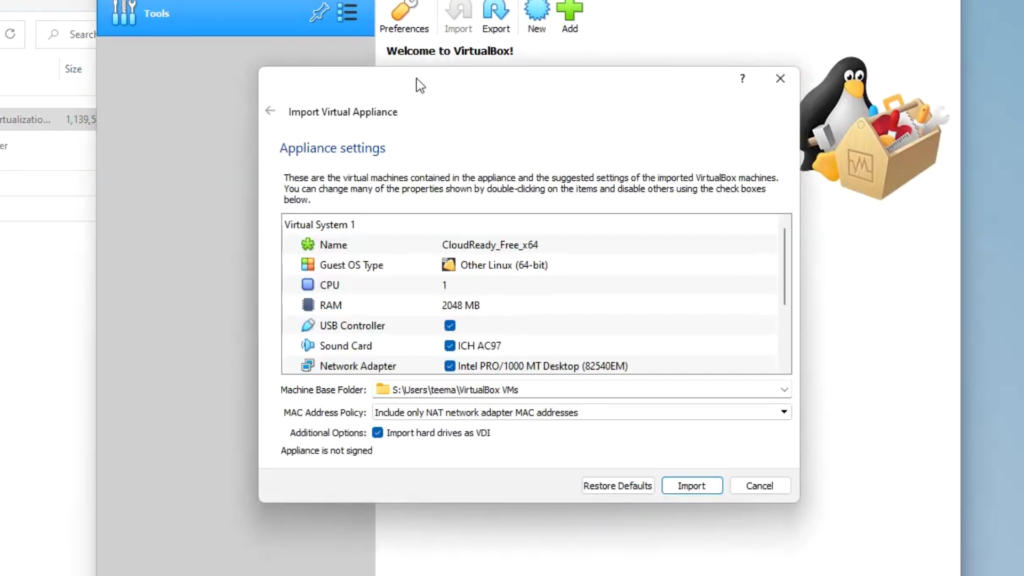
STEP 3: Click on Finish to add the machine to our VirtualBox.
STEP 4: Now we can start up our machine but we have to make few changes.
Click on your Chrome OS machine to have it selected. Then Click on Settings on the Top Bar of VirtualBox and we can change settings for our Chrome OS.
From here we can rename our machine and make other changes.
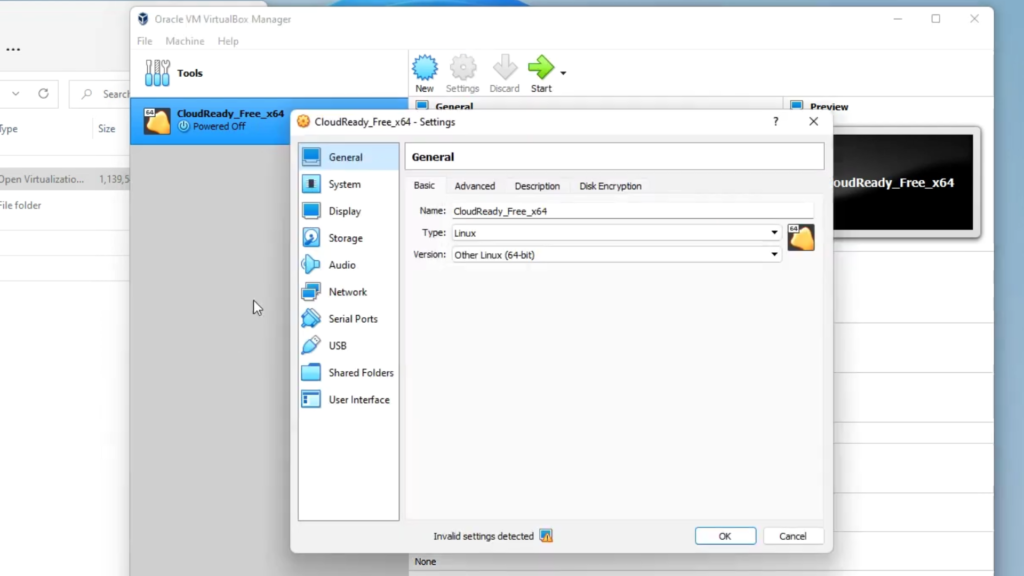
STEP 5: Click on System and then increase Base Memory which is the RAM of your Machine (Don’t allocate over 40% of your PC RAM to your Virtual Machine else it’ll slow down your main Computer).
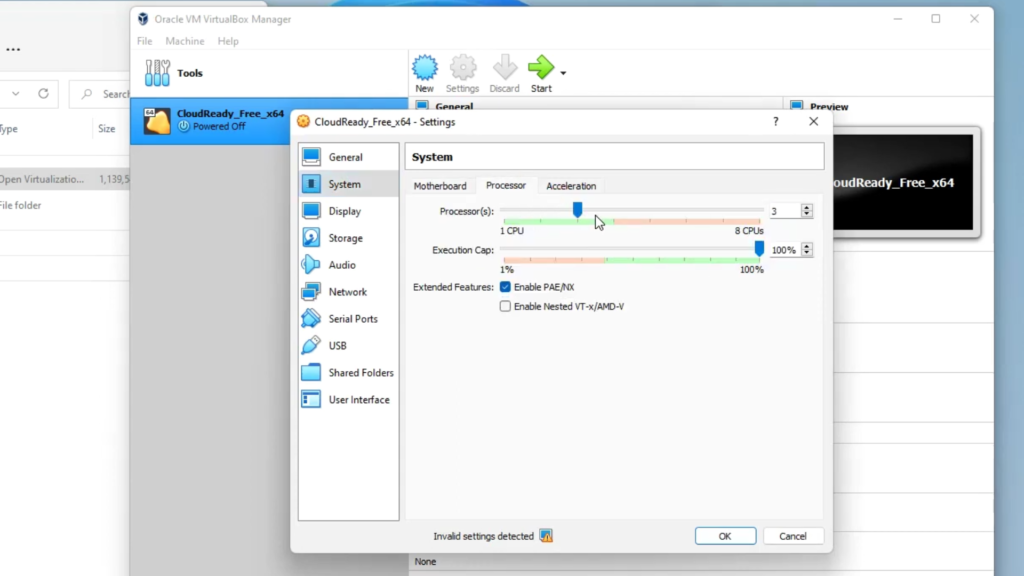
Also Click on Processor and Also Allocate CPU Cores to your Chrome OS (Not more than 40% as well).
Also enable Enable PAE/NX
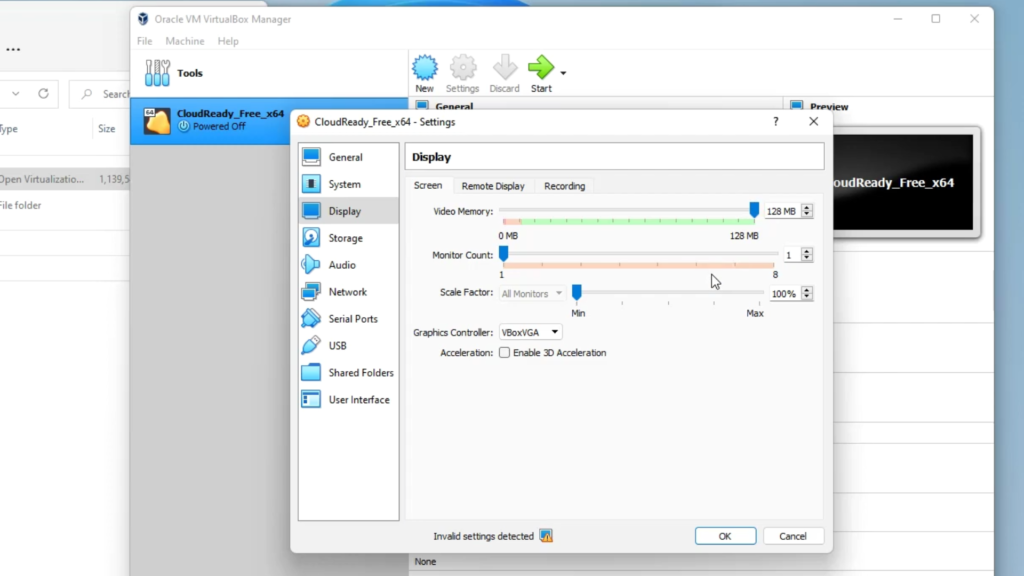
STEP 6: Also Click on Display and Increase Video Memory to 128MB, then Enable 3D Acceleration (for better performance). Then Click on OK to apply the changes we’ve made.
STEP 7: Now we can boot into Chrome OS by Clicking on Start.
And then sign in to start using Chrome OS.
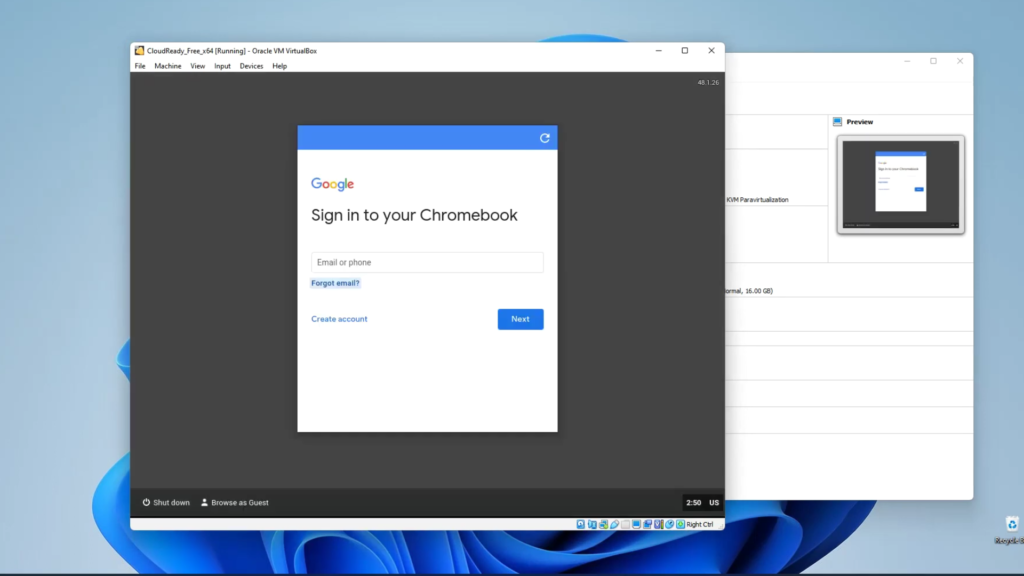
Congratulations!
You have successfully installed Chrome OS on Virtualbox
CONCLUSION
- If you are getting a black screen, go back to VirtualBox settings and make sure you increase Video Memory to 128MB and enable 3D acceleration.
- Enable Virtualization on your Computer HERE if you are unable to Install and then install again.
Here is a complete video on how to install:

